So, it's time for another installment of the Inspired by Reading Book Club! You can find out more about the group and see the reading list for the year over on Andrew Thornton's blog
HERE. We are always looking for more folks to play along. You don't have to make jewelry either, any creative response is welcome!
This month's selection was
The Cookbook Collector by Allegra Goodman. Once again, this book club has encouraged me to read something that I never would have chosen on my own... and, once again, I'm glad that I did!
Unfortunately, I've learned a valuable lesson about writing my posts for these design challenges... I need to sit down and write my impressions of the book right away and not wait until I have made my jewelry piece. I guess I really should already know this because as a reader I tend to mostly remember if I loved or hated a book (or if I was indifferent) and forget the details. So, since I finished the book almost a month ago, my thoughts on the book may be a bit more blurry and disjointed than I would like!
The main story centers around two sisters, Emily and Jess, who couldn't be more different. Much of the focus is on their relationship with each other, their dead mother, and living father but it spirals out to include their significant others, friends, and coworkers. The point of view is constantly shifting among the characters (and between Berkley and Boston) as the story moves towards its climax. I have to admit that the split narrative made it a little tricky to zero in on a direction for my piece of jewelry, but I digress. Threads of quickly rising dot coms (and the eventual bust of that bubble) combine with the pursuit of rare books and saving the trees. The plot lines all mingle together as we get to know the various characters (some far more likeable than others) and start seeing the connections between them all.
At first I though I'd do something with trees but I didn't have quite what I wanted in my stash and I delayed a moment too long on buying a super cute tree from Jade Scott. On to idea number two, it might feel a little simplistic for the many threads in the story. I'm going to try to cut myself a little slack though, because my memories of the book are already fading and I've been on the road more than home this month.
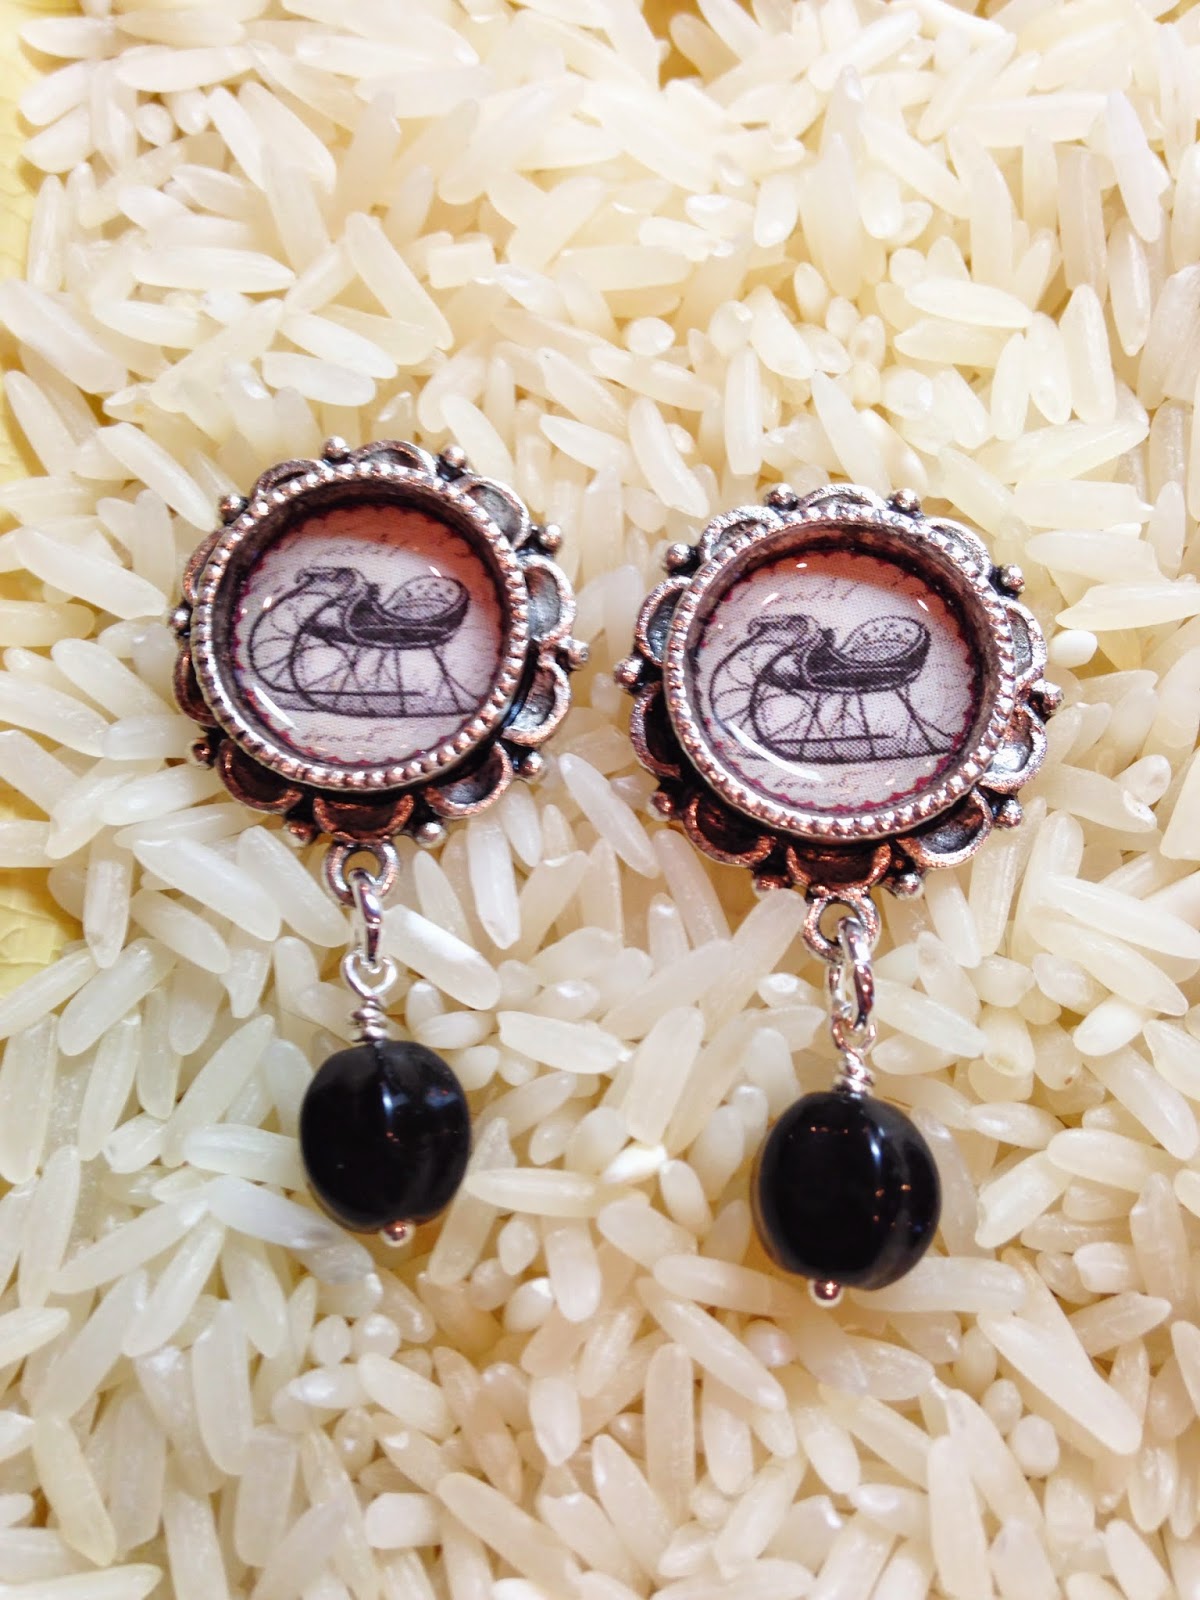
I decided to focus in on the idea of all of the handwritten notes and things that Jess and George find as they start going through the amazing cookbook collection that they acquire. I had some scrapbook paper with very small handwriting all over it on a creamy, antique-looking background so I decided to put that in the bottom of a fancy copper plated bezed from Nunn Design.
(For those of you who have been following me, this is the same bezel style that gave me fits during my project for Paris to the Moon.) The resin gave me a little bit of grief again this time, but I did fairly thin layers and was able to smooth it out pretty well. I love that the back of the bezel is decorated too with a leafy design that made me think of the sketches and doodles that they found in the books.
I kept things pretty simple and added some copper colored shell pearls and Czech glass rondelles in a cool metalic and sage color. Copper plated chain and lobster claw round things out for a sweet little pendant necklace!
This is a blog hop... Check out what the other members of the group made too!