Friday, January 31, 2014

AJE January Component of the Month Reveal

I was just tickled pink to find out on January 1st that I was one of the lucky winners of the January Component of the Month over on the Art Jewelry Elements blog.  What a great way to start the new year!

I was super excited to see what Jenny Davies-Reazor would be sending me.  Here's a picture she posted of her focals in process.  You can see all of her blog post over on the AJE blog HERE.


Here's the one I got.  I love the dark, denim blue with the lighter shades mixed in.  Believe it or not, this isn't a color I find myself using all that often so this was a good stretch for me.  The dictionary paper has a lovely aged look to it... I don't know if that's natural aging of the paper or something with the resin process Jenny used.  Either way, it gives it a nice antiqued effect that works perfectly with the frame design.


The word on my pendant is "vision."  Here's how the Oxford online dictionary defines it:
  • The faculty or state of being able to see; the ability to think about or plan the future with imagination or wisdom; a mental image of what the future will or could be like; an experience of seeing someone or something in a dream or trance; a person or sight of unusual beauty.
While the word "vision" may not have actually inspired the design I came up with, it was on my mind while I was playing and creating.  I'm certainly grateful for the gift of being able to see... and when my eyes start to cross from too much "up close" work I worry about the day when clear sight is more elusive.  I have come to have a pretty clear vision for the future with regards to some aspects of my life... less so for others, but that's likely how it goes!  I'm hoping that my finished creation will be a sight of beauty to some people!  Ok, not exactly deep thoughts, but that's what I've got!  

I really wanted to keep the focus squarely on Jenny's gorgeous pendant but I didn't want my necklace to be too monochromatic.  (Those of you who follow me regularly, know that this is something that I often struggle with.)  I looked through my Pinterest board "Pretty Palettes" to get some ideas for mixing it up a bit.  What I found was that in the palettes I've collected, darker blues were often mixed in with oranges, yellows, or tans.  

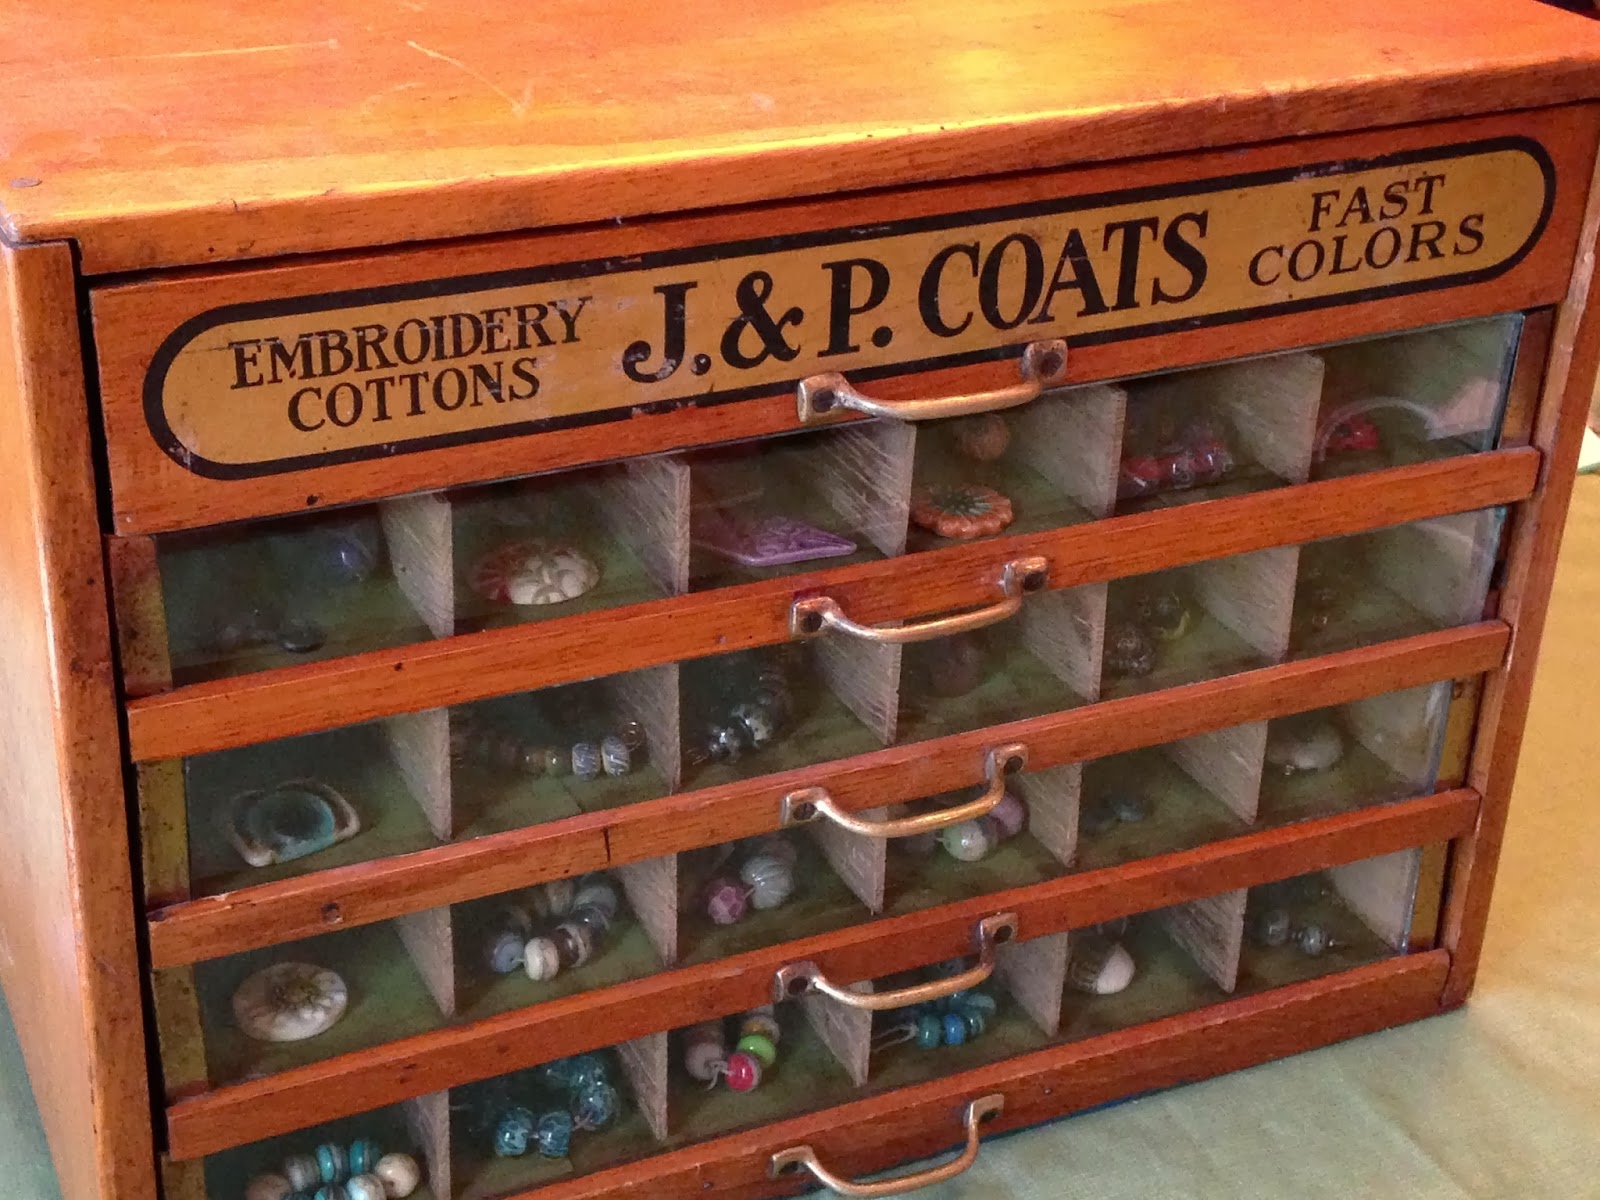
After pulling some bead possibilities together I got started by making wire-wrapped connectors with some Lapis rounds that I've had forever on each side of the pendant.  I used Vintaj brass wire, chain, and other findings since I think that's such a perfect look for the vintage feel of the pendant.  I used a couple of blue beads (one ceramic, one lucite) from a destash grab bag that I bought from Andrew Thornton, and added in some Czech glass, a Vintaj filigree bead, and a nice little Red Creek Jasper rondelle.


This is a blog hop.  To head on over to Art Jewelry Elements blog and check out what everyone else created please click HERE.

Thursday, January 30, 2014

30 Word Thursday: Through the Looking Glass


Glimpsed through cold iron and surrounded by snow, 
I spy a secret garden.  
Color riot in a bleak landscape... 
I want to go down that rabbit hole.  
Take me away.

~~~~~~~~~~~~~~~~~~~~~~~~~~~~~~~~~~~~~~~~~~~~~~~~~~~~
The premise of 30 Word Thursday is simple... take a photo, write 30 words (no more, no less) and post it each Thursday.  This is a blog hop hosted by Erin Prais-Hintz over on her blog Treasures Found.  Click HERE to see her post for this week as well as links to everyone else's 30 Words.  

I doubt that I'll be super regular with this, but I will play when I can and when I have an image that I'm excited about sharing!  This photo was taken outside the Cake and the Beanstalk coffee house in Philadelphia, PA.

Monday, January 27, 2014

New Earring Monday - Weeks 3 & 4

It's time once again for my New Earring Monday reveal.  This week I'm posting from Philadelphia while at the American Library Association (ALA) Midwinter Meeting.  The last four days have been filled with travel and lots and lots of meetings for me so it's a good thing that I created ahead for this post instead of waiting until the last minute as is so often the case!

I guess that I should start out by saying that while I plan on showcasing plenty of art beads in my self-directed earring challenge, I'm not limiting myself to only share earrings with artisan components.  That being said, I do want to focus on earrings that are more unusual or outside the box for me.  My overall goal is just to keep myself creating and trying new things.

So, onto the earrings!  Today's reveal is all blue.

First up is a really simple pair using some silver plated flat tags and Lilly of the Valley transfer sheets from Nunn Design.  I used UV resin over the top of things.  Since these were designed to go with some necklaces I have made, I was originally thinking of adding some blue Czech glass flowers.  I played around with several options, but decided to keep things simple.  Next time I think I'll use a tag that has connectors on both sides and dangle a flower or two from the bottom!


One version of the matching necklace.

My next pair features some unusual shaped shell beads that I got in a mixed lot from one of Andrew Thornton's destash events.  I added in some Vintaj bead caps on the top and bottom of the beads and did wrapped loops.  Simple but cute I think... and they could easily be dressed up or down.    


I'll be adding both pairs to my Etsy shop as soon as I'm home from ALA.

Monday, January 20, 2014

Art Bead Storage - Antique Makeover Edition

Ever since I saw Linda Landig's post over on the Art Jewelry Elements blog a while back, I've been lusting after the idea of an antique printers cabinet for bead storage.  You can see her post HERE to understand my new obsession.  While I don't have room for such a thing in our basement where my main beading workspace is, we've been talking about redoing our upstairs office as a studio for me.  Ok, if I found such a printer's cabinet I'd totally find a way to make room for it, but for now, something in a more modest size probably makes more sense.

Lucky me, I stumbled upon quite a find on a trip to Duluth, Minnesota with my husband back in July.  I really have to thank him since we were just killing time between lunch and the beer festival that brought us up there and he suggested popping into an antique store we passed.  And that's where I saw this:


It's a old counter display for J&P Coats embroidery floss.  Back in my short-lived cross stitching days, I had plenty of Coats and Clark floss (they merged in the 1950's) so it felt a little nostalgic for me.  Near as I can determine, it's from the 1920's or 30's and is in relatively good shape all things considered.  I'm proud of myself for asking the shop clerk if they could do better than the listed price and was rewarded by getting the thing for $95 less than it was listed for (and more than $100 less than some I saw online after a little digging... score!).

Anyway, we picked up my new treasure on our way out of town and I started plotting the mostly cosmetic work that would make it my fabulous new art bead storage unit.  Here are a few more "before" pictures:


This is probably the drawer that was in the best shape to start.
Someone over on the Creative Bead Chat Facebook group gave me the fabulous idea of looking for velvet textured scrapbooking or contact paper.  I had no idea such a thing even existed!  (If I'm totally honest, I'm one of the least crafty people I know.  That probably sounds strange since I make jewelry, but there it is.)  Anyway, I trotted myself down to the big Archivers scrapbooking store at the mall and asked them if they had this magical substance.  I was thrilled that they actually had tons of different colors.

It was a whole rainbow of velvet paper!
I struggled between a lighter mushroomy taupe, a dark grey, and a lovely green for a while.  I kept weighing the merits of a more neutral backdrop for my beads versus a color that I adore.  In the end, my heart won out and I went home with a bag full of green fuzzy paper and some heavy duty double stick tape.  Now if I could just find the time to get the inside all prepped and ready!

The insides of the drawers were coated in some sort of paper that had been glued down at some point in its life.  I seriously underestimated the amount of effort that would go into getting back down to the wood!  I tried a few different things with little success including a misguided attempt to sand them by hand.  Thank goodness for our friend Marty who lent me his little orbital sander and taught me how to use it!  I eventually learned that trying to peel up as much of the paper as possible before sanding was the best route.

After getting it all sanded down as best I could, it still took me a while to find the time to clean all the sawdust out of the drawers and get the paper stuck down in each one.  The scrapbook paper isn't big enough to cover the whole drawer so I had to cut and piece things together.  It's not perfect, but I think it works pretty well.  Marty came to my rescue again by making me new dividers for the drawers since the ones that came with it weren't anything special (some were old rulers that someone cut to fit) and they were covered with more of that glued on paper, masking tape, and stickers... not worth the time trying to clean up!  He used some really cool white oak planks that had been salvaged from an old granary in Winona, MN.  The wood dates back to at least 1908 and has some wormwood that gives it great character.


So, finally after more than half a year, I have a lovely new storage piece for my art beads.  Now to get down to business and get my beads all organized inside it!

Friday, January 17, 2014

January Art Bead Scene Challenge - Round Two!

As you may have guessed from my post last week for the Art Bead Scene challenge (click HERE if you missed it), I'm pretty smitten with this month's inspiration artwork by Lois Mailou Jones.  Even though I've already made one design, I couldn't resist doing a second one!


Textile Design for Cretonne, 1928? 

by Lois Mailou Jones

Tempera on Paper
One of my beady Christmas presents from my sweet husband was a six month subscription to the Simple Truths Sampler Club that Erin Prais-Hintz auctioned off for Typhoon Haiyan relief.  I have been wanting to buy a membership for a while now since I admire her work so much, but I just never made the leap...so he did it for me.  (See, he's a keeper!)

December was my first month in the club but I ended up getting both the December and January installments right after the first of the year.  If you didn't know, Erin has been designing her Simple Truths each month to go along with the ABS challenges (she's one of the editors of the ABS blog too).  I really like what Erin did for January.  She carved her own leaf stamps to use in her polymer clay designs.  The colors she chose are much softer and more subdued than the inspiration piece, but lovely nonetheless.

I was super happy that my pendant was in an antique brass bezel since I've been designing so much with brass lately.  I knew I'd have plenty of options for whatever my design might eventually be.  As so often happens, when I was pulling beads for another project, I noticed a seed bead mix that had the perfect soft mix of colors to go with my new pendant.


The seed beads and the pendant both have a slight pearlescence to them.  The combo seemed so perfect that I just had to use them together...but one strand would have been way too wimpy and boring to go with Erin's lovely pendant.  So, I picked out some nice TierraCast cones in an antique brass finish, some metal and Czech glass accent beads and started to play around with stringing patterns on multiple strands.

Now every time I do a multi-strand necklace (especially if it's stringing) I get so frustrated trying to get everything all even that I swear I'll never do it again... yet here I am doing it anyway.  I'm just a glutton for punishment!  Somehow my strands shifted a little bit as I was trying to get things situated and crimped but I was able to more or less straighten it out.  The resulting pattern isn't quite what I'd originally planned, but still works for me.


I'm certainly looking forward to seeing what other treasures I receive from Miss Erin over the next few months.  Don't be surprised if you see some of them make appearances here!

P.S.  I decided to add this one to my Etsy shop.  You can see it (and buy it!) HERE.


Monday, January 13, 2014

New Earring Mondays - Weeks 1 & 2

For most of last year, I was involved in a earring challenge hosted by the Art Jewelry Elements blog.  Participants were encouraged to make one pair of earrings a week using artisan made beads and/or components.  I found that this was a great way to keep myself motivated to always be creating, to use some of my dragon's hoard of art beads, and to stretch my creativity when it came to making earrings.  Following what other folks were making also introduced me to tons of other fabulous artists to purchase from for my future designs.

So far there has been no word over on AJE about a new challenge for 2014.  I don't want to lose the earring momentum so I'm going to try to keep it going (at least for now).  At the end of the year it sounded like there were a few other folks who were interested in keeping it going too... maybe we'll get organized for more earring blog hop fun.  Stay tuned!

My goal for now is to post two new pairs every other Monday so, without further ado, here are my first two pairs of art bead earrings of the new year.

The first pair is something I actually whipped up for myself.  I lost one beaded hoop earring over a year ago (and I still don't know how I managed it!) so I haven't been wearing the two necklaces that they went with all this time.  As I was looking through some of my new beads for a totally unrelated project, I realized that some of the new lampwork that I got for Christmas were the perfect color for those necklaces.  In true Sj style, I dropped the project that I was in the middle of to whip up these little beauties.  I paired these yummy tangerine lampwork beads by Sue Beads with sterling silver saucers and over sized silver plated earwires from Nunn Design.  I'm not sure yet if I'll keep them on these earwires of if they will be too long for me...time will tell.


My second pair is a variation on a pair I made last year with lampwork beads.  You can see the originals HERE.  They were pretty heavy (not too bad for me, but I could see it being problematic for some folks) so I kept them for myself.  I liked the idea though, so when I got some teal polymer disc beads from Humblebeads, I knew I wanted to give it another try.  I once again made some alterations to some Vintaj brass blanks... cutting off the original loop, adding my own holes, texturing and bending them.  I'm pretty happy with the resulting earrings... SO much lighter than the original pair and super cute!


I'm not sure how committed I am to the name "New Earring Mondays."  I'd love to hear any suggestions for a better name.  Catchy titles and descriptions have never been my strong suit so I'd appreciate the help!


Friday, January 10, 2014

January Art Bead Scene Challenge

This is officially the first design challenge for me in the new year.  I was super excited when I saw the inspiration for this month's Art Bead Scene challenge.  It's a gorgeous textile print done by Lois Mailou Jones in the twenties.  To read more about the artist and her artwork over on the ABS blog, CLICK HERE.


Textile Design for Cretonne, 1928? 

by Lois Mailou Jones

Tempera on Paper
Since it's been negative 20 degrees with wind chills of negative-I-don't-even-want-to-think-about-it, this tropical print was a breath of fresh, almost warm air.  (Seriously, when is Eric going to whisk me off to Hawaii in the dead of Minnesota winter?)  I immediately thought of the Woodland Leaf brass pendants by Vintaj as well as the smaller Woodland Leaf charms that I had in my stash.  An idea was hatching but I still needed to find my art bead or beads.

It didn't take me long to locate the perfect focal bead in my collection of orphaned lampwork beads from Firelily Glass.  I found one with a wonderful mix of orangey-red, purple, and hints of blue and yellow.  Yummy!  There are so many colors to work with in the artwork.  That gives tons of choices, but it also made it hard for me to get focused on where I wanted to take the design.  Looking to the focal bead I had chosen, I honed in on the purples, reds, and blues in the palette.

I love this bright cluster of little flowers!

I added in some other small lampwork beads from The Spacer Bead Shop and Beadygirl Beads, Czech glass, Mookaite, Rainbow Fire Agate, and lucite.  I used a variety of Vintaj brass bead caps and other findings to finish things off for a fun and colorful long necklace.


The colors look a little off in this one, but I wanted to show it hanging.

There are no art beads in these, but I also whipped up some little matching earrings with the Woodland Leaf charms and Czech glass flowers.


So much inspiration this month!  You can see what other folks have made in response to the artwork over on the ABS Flickr page HERE.  Enjoy!

P.S.  I just made a second design based on this artwork.  You can see it HERE.

Wednesday, January 8, 2014

Bridge of Birds - Inspired by Reading Book Club

Even though the calendar says January 2014, this is the November 2013 installment of the Inspired by Reading Book Club.  With the way the holidays happened to fall, we shifted things around just a touch.  Life got too busy for me so I didn't get around to the December selection at all.

The November book was Bridge of Birds by Barry Hughart.  True confession time:  I have actually owned this book since May of 1998 (I found the receipt in the book's pages!) and it has just been languishing on my book shelf.  I bought it when Eric and I lived in Chicago (or maybe even before I moved up there!) from the now defunct science fiction/fantasy bookstore called The Stars our Destination.  Eric and I (especially Eric!) were frequent customers and many of our "date" weekends in Chicago ended up with us browsing the shelves there.  Even though the store shuttered its doors after we moved to the Twin Cities, I still feel sadness that such a wonderful independent bookstore was forced to close.


Anyway, let me get back on track here.  Bridge of Birds was a book near and dear to Stars owner Alice Bentley's heart... so much so that she would scoop up a whole bunch of copies whenever it was going out of stock for a new edition.  She would hand sell this book to customers, just like she did with me, and actually had a guarantee of satisfaction for it.  (Ever heard of such a thing??  You wouldn't get that at a B&N, that's for sure!)

Alice loved this book so much that she decided to go into publishing to put out a hardcover edition of Bridge of Birds along with the other two Master Li books by Hughart that had long been out of print.  You can read a short article from Publisher's Weekly about that venture and her amazing devotion to this book HERE.

Sorry for such a long preamble, but I wanted to share my odd connection with this book and the bookstore where I bought it so long ago.  Since I've already gone on and one, I'm just going say that I'm glad that I finally read this one... it was a fun and enjoyable read for sure!  I think it was a great follow up to our last book since it has a sort of fairy tale quality about it.

Now for the creations the story inspired!  There were a few points in the story where the colors and imagery were intriguing or inspiring, but in the end I took a more literal approach based on the story of Jade Pearl.  Even though I finished reading the book very early, time has a way of getting away from you especially during the busy holiday season.

My first design ended up being some cute asymmetrical earrings.  I chose a bird charm for the bridge of birds itself for one side and a star charm to represent the Star Shepherd for the other.  To represent Jade Pearl herself, I added Palace Jade Swarovski crystals and pearl dangles to both sides.  I think that they turned out pretty cute but I had hoped to make something a little more elaborate since I finished the book so early.


Now that I had actually made something for the reveal (albeit a fairly small something) the pressure was off!  I found time to make a necklace to go with the earrings as a set.  I had originally hoped to use an embossed Vintaj brass bird on one side of the necklace, but it just refused to behave the way I wanted it to.  (I hate it when that happens!)  I switched things up a little from my original design by putting a large jump ring in place of the bird and changing sides for the hook clasp.  I used some shell pearls and a small flower carved piece of jadeite in this one along with some of the other componets from the earrings.  I liked that the decorative brass piece is called "Sparrow's Compass" and thought that was fitting.


I'm pretty excited that this set sold at my holiday open house in December.  Hopefully my friend is enjoying them!

This is a blog hop.  Please take some time to check out the amazing creations that everyone made for the last two books.


Monday, January 6, 2014

December Art Bead Scene Challenge

The inspiration for December's Art Bead Scene Challenge was "Winter Landscape" by Wassily Kandinsky.  For more information on the artwork and the artist, CLICK HERE.  

It's an interesting pick color-wise.  With all of its yellows, pinks, and blues the color palette seams more Easter egg than Christmas. 


Winter Landscape by Wassily Kandinsky, 1909

Oil on cardboard 75.5 cm × 97.5 cm

The State Hermitage Museum, St. Petersburg, Russia
I'm super late getting this challenge completed because of all the holiday fun, travel, and general madness... but better late than never!  I really just wanted to make something with one of the cute little house beads that I had bought from Tracee Dock of The Classic Bead back in November... when this painting showed up as the December inspiration I knew I had to try to make something.

I grabbed one of the houses in a yellowy cream color and then pulled together a selection of Czech glass, dyed howlite, and septaria that picked up many of the colors from the painting.  I had hoped to use one of the turquoise color howlite pumpkin rondelles under the house bead but the hole just wasn't big enough to accommodate the waxed Irish linen I was using (also from Tracee!). The glass bead are described as "flower window coins" but they sort of remind me of the paint strokes in the painting.


This was the first time I experimented with the waxed Irish linen.  I'm pleased with how the pendant came out but I would cut the thread a little longer next time to make it easier to knot.  I used her "Country Yellow" which looked a little greener on the card, but I still think it works.  I have some other great colors from Tracee and plan on playing around more with this in the future.


Sunday, January 5, 2014

Hopes and Goals for 2014

So in my last post I did a little looking back at the year that was... now it's time to shake off the post holiday daze and start thinking about what's in store for 2014.  I don't really do resolutions as such.  I'm more of a goals sort of girl with some hopes thrown into the mix.

A wintry little creation that's perfect for the crazy arctic temps here in MN!

Here's a brief peak into what I'm planning and hoping for in 2014 for Sj Designs:

  • Market my Etsy shop and business Facebook page in a more focused way.
  • Get my bead stash at least somewhat more organized.
  • Learn (and regularly use) at least two new techniques...some more advanced wirework is at the top of my list.  
  • Use more art beads in my designs.  i.e. stop hoarding!
  • Pursue getting some of my designs published.
  • Continue to participate in a variety of design challenges...you know I'm an addict!
  • Have some of my jewelry for sale locally in a store or gallery.

I haven't made a single thing since before Christmas, but that all changes today.  Vacation is over and it's time to get back to it and start creating again!  My sweet husband spoiled me with LOTS of beautiful art beads that I can't wait to use (remember, no hoarding!) so I plan on sharing some new creations with you soon.

My Christmas spoils.
I'd love to hear what your goals are for 2014... please leave a comment and let me know what you hope to accomplish this year!